Service Detail
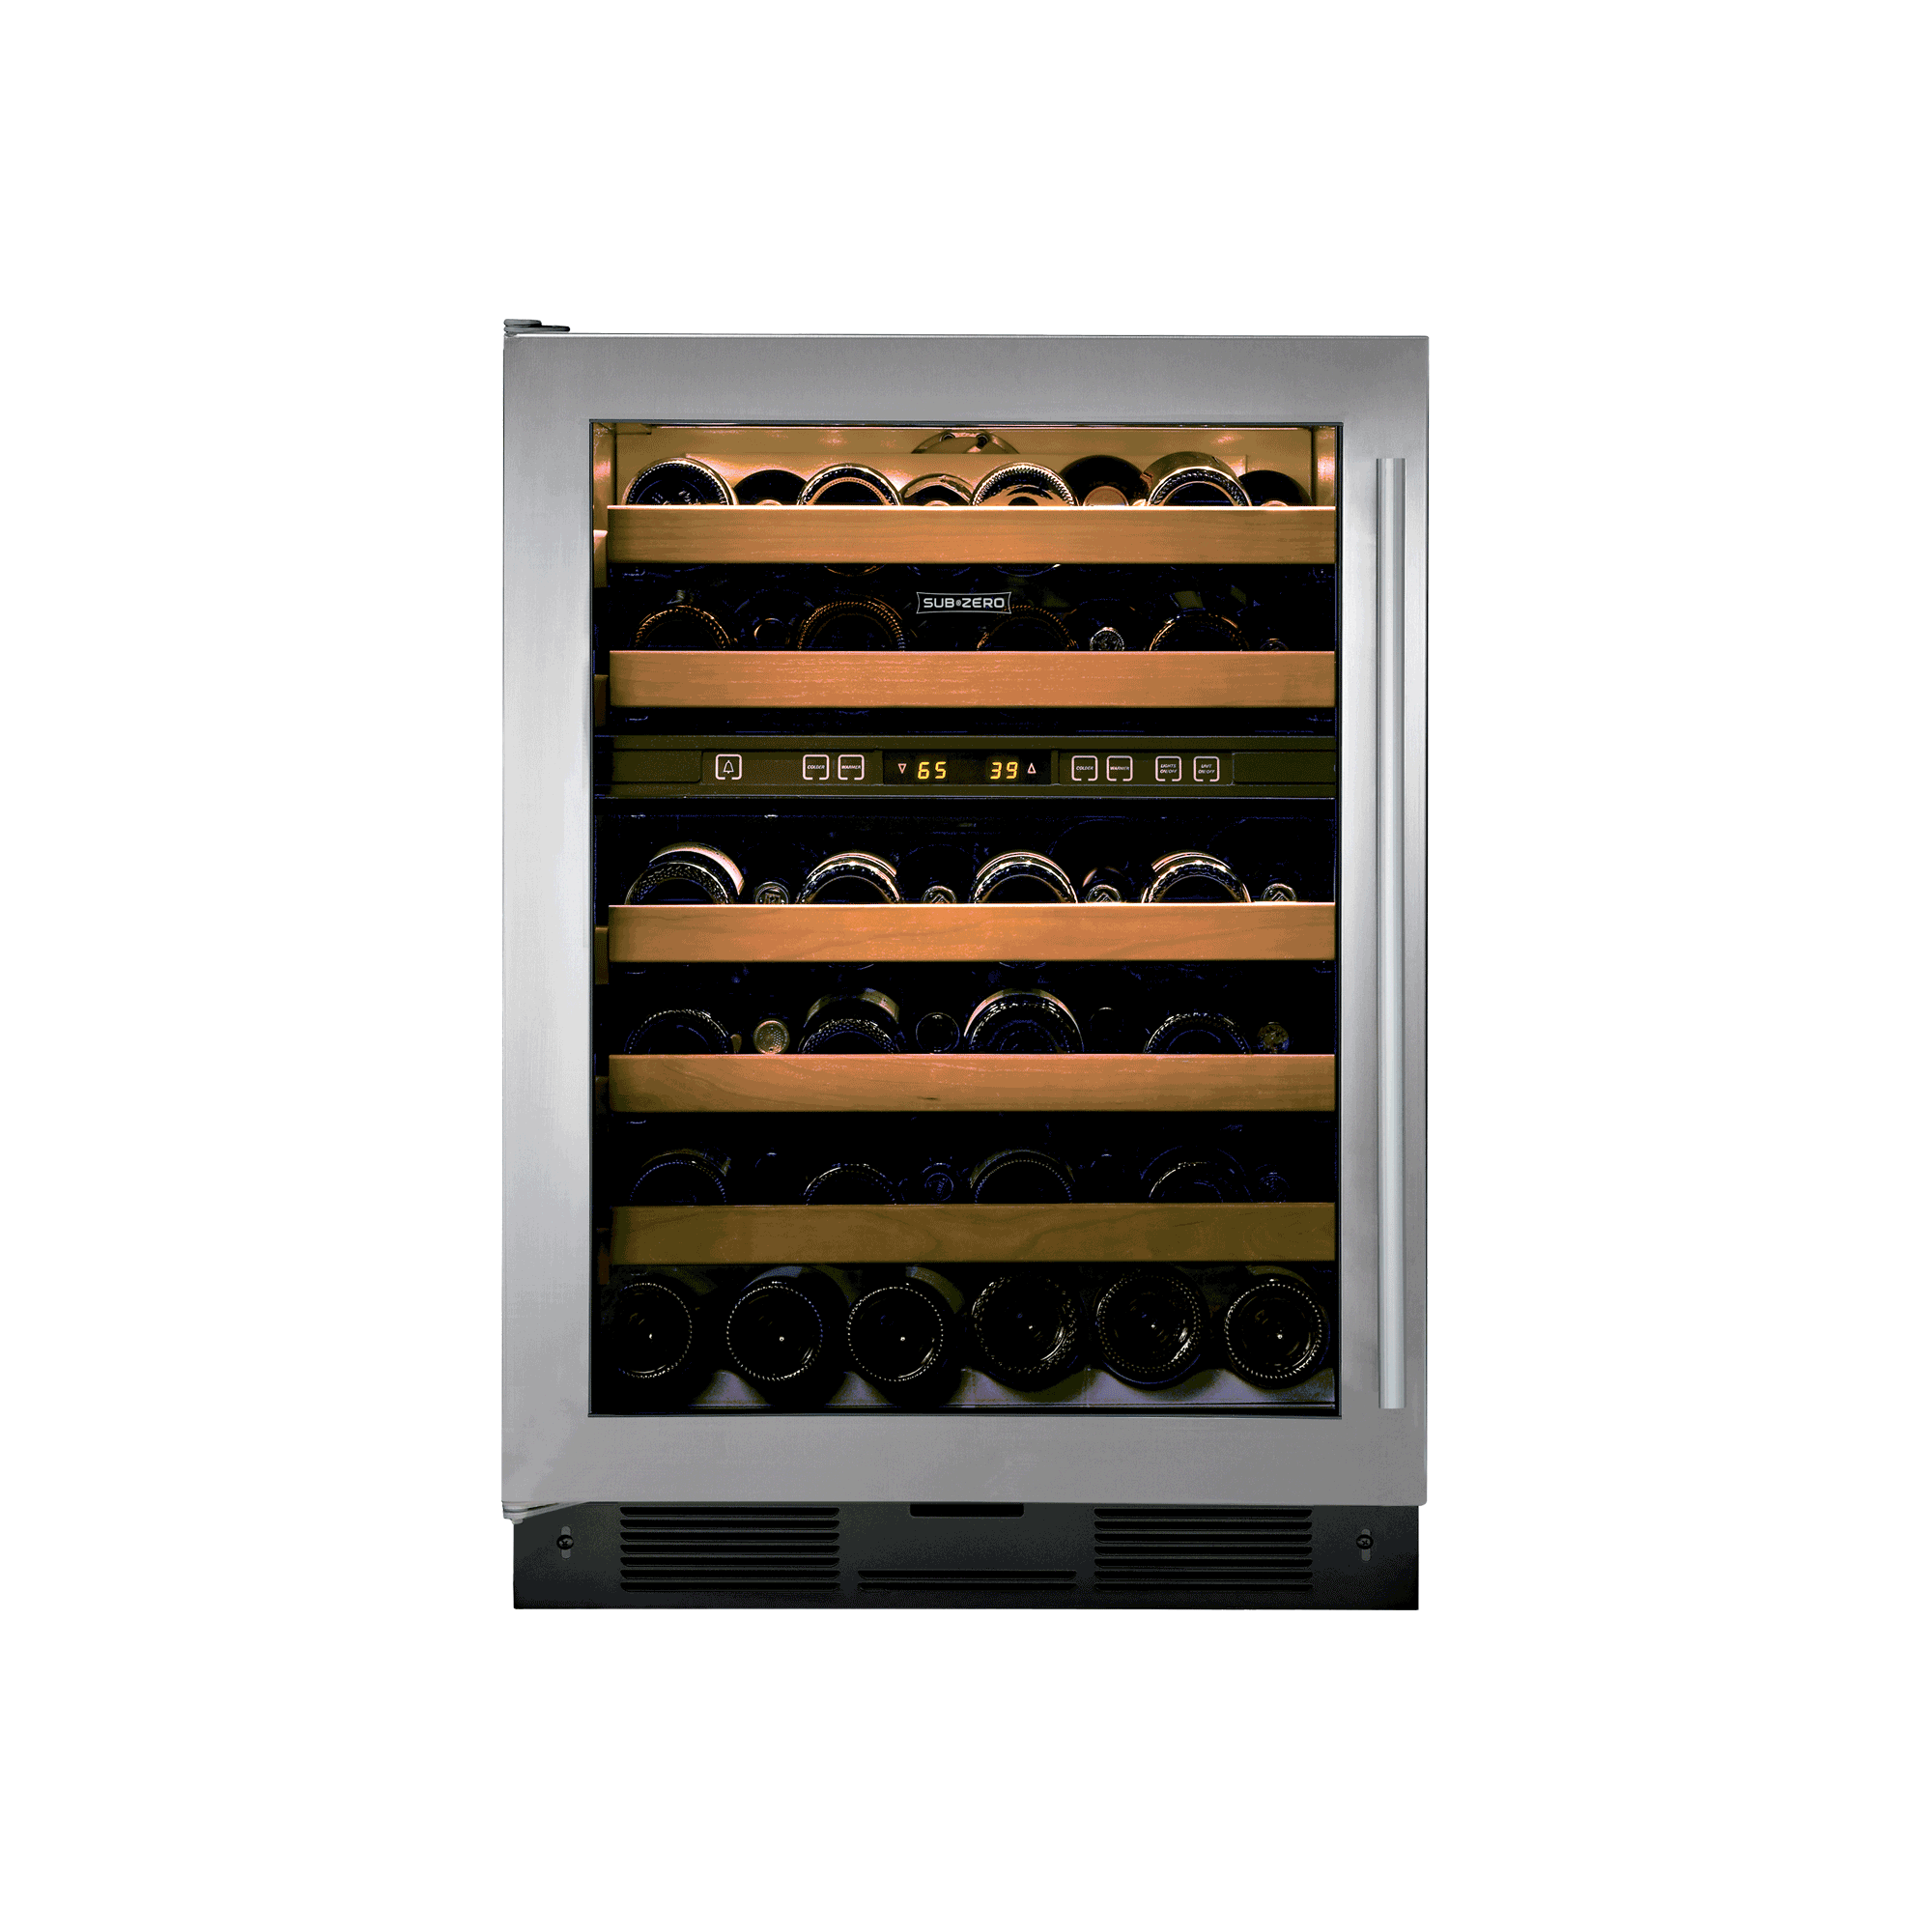
Repairing a wine cooler involves troubleshooting specific issues that might affect its cooling ability, temperature control, or other functionalities. Here's a general guide for common wine cooler problems:
-
Check Power Supply: Ensure the wine cooler is receiving power by checking the outlet and circuit breaker.
-
Temperature Issues: If the wine cooler is not cooling properly or is too cold, check the thermostat settings. Clean the condenser coils for efficient cooling and airflow. Ensure the cooler is not placed in direct sunlight or near heat sources.
-
Interior Light: If the interior light isn’t working, replace the bulb or check the wiring for any issues.
-
Humidity Control: Some wine coolers have humidity control features. If the humidity levels are too high or too low, it might affect wine storage. Check if the cooler has a humidity control setting and adjust it as needed.
-
Vibration or Noises: Excessive vibration or unusual noises might indicate issues with the compressor, fans, or internal components. Inspect for loose parts or components and ensure the cooler is placed on a level surface.
-
Door Seal: A damaged or worn door seal can cause temperature fluctuations. Inspect the gasket around the door for any gaps, tears, or damage. Replace if necessary.
-
Control Panel and Display: Malfunctioning control panels, buttons, or displays might require replacement of electronic components.
-
Cleaning and Maintenance: Regularly clean the interior, remove dust or debris, and ensure proper ventilation for efficient operation.
Always refer to the wine cooler's user manual for specific troubleshooting steps and safety precautions.
If you're uncertain about the issue or how to proceed, especially with electrical components or sealed systems, it's advisable to contact a qualified appliance repair technician.
Each wine cooler model and brand might have its unique set of problems and repair procedures, so specific information for your wine cooler model can be beneficial for accurate troubleshooting and repairs.
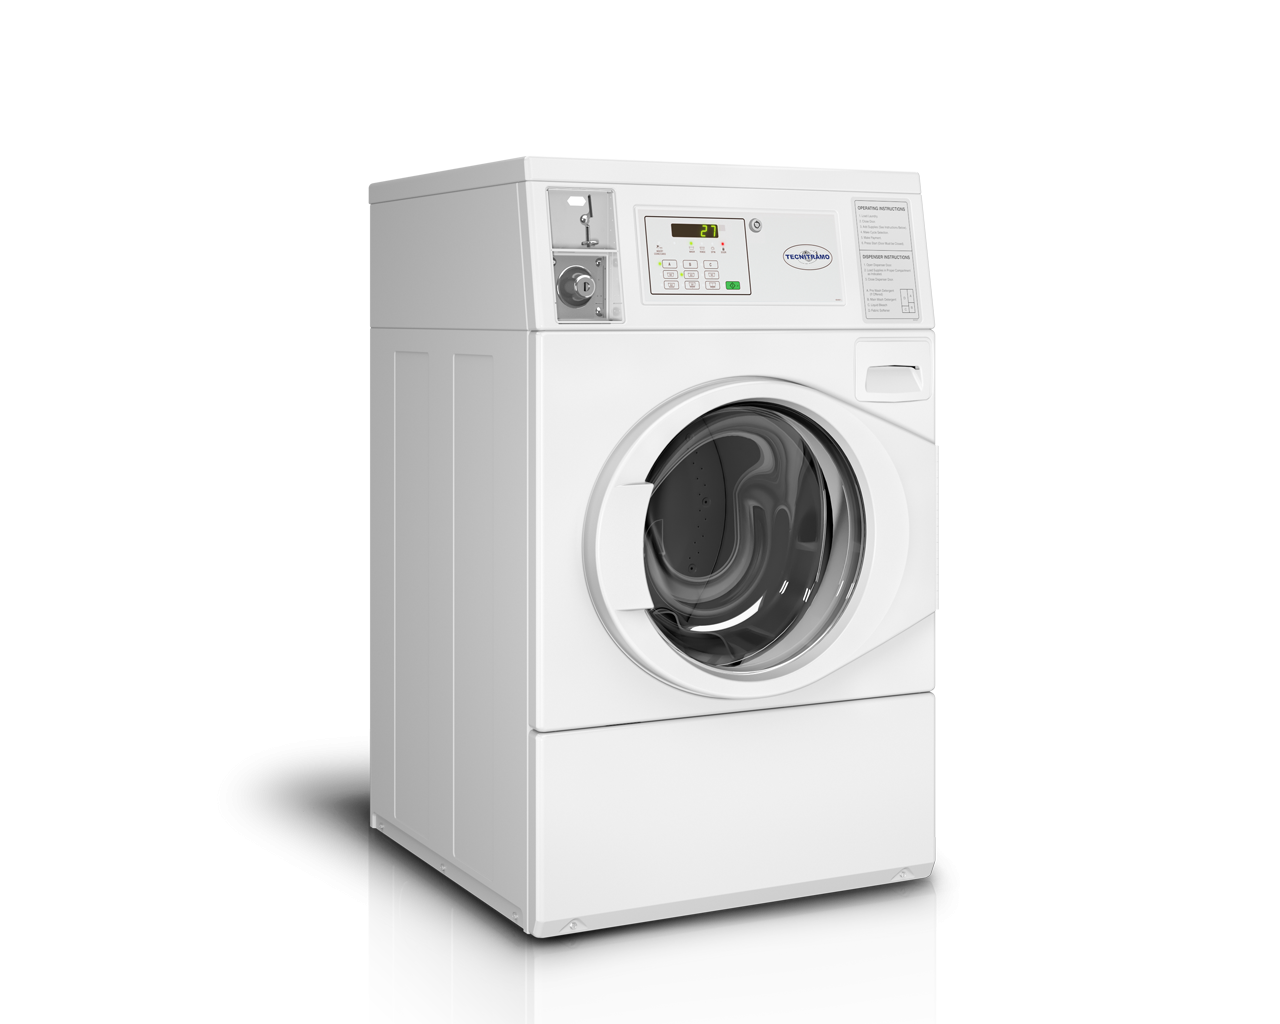
Repairing a dryer involves troubleshooting specific issues that may be causing it to malfunction. Here are some steps and common problems you might encounter with a dryer:
-
Check Power Supply: Ensure the dryer is receiving power. Check the outlet and the circuit breaker/fuse box to make sure the dryer is getting electricity.
-
Inspect the Ventilation System: A clogged or restricted vent can cause the dryer to overheat or not dry clothes properly. Check the lint screen, exhaust vent, and ductwork for blockages, and clean them if necessary.
-
Thermal Fuse and Thermostat: If the dryer doesn’t start at all, it could be a blown thermal fuse. It's a safety device that shuts off the dryer if it overheats. Similarly, a faulty thermostat might cause the dryer not to heat properly.
-
Drum Issues: A noisy dryer might have issues with the drum such as worn rollers, bearings, or belts. Squeaking or grinding noises might indicate these parts need replacement.
-
Igniter or Gas Valve Solenoid: Gas dryers might have issues with the igniter or gas valve solenoid that can prevent the dryer from heating. These parts may need replacement if faulty.
-
Timer or Control Board: Electrical issues or a malfunctioning timer/control board can cause erratic behavior or prevent the dryer from starting. Check for error codes or unusual behavior on the control panel.
-
Belt and Motor: If the drum doesn't turn, it might be due to a broken belt or a faulty motor.
-
Cleaning and Maintenance: Regularly clean the lint trap and ducts. It's essential for the efficient operation and safety of the dryer.
As with washer repairs, safety is paramount when working on a dryer. Always unplug the dryer before attempting any repairs or maintenance.
Consult the user manual for your specific dryer model for troubleshooting tips, diagrams, and safety precautions. If you're uncertain about the issue or how to proceed, consider contacting a professional appliance repair technician.
Each dryer model and brand might have its unique set of problems and repair procedures, so specific information for your dryer model can be beneficial for troubleshooting accurately.
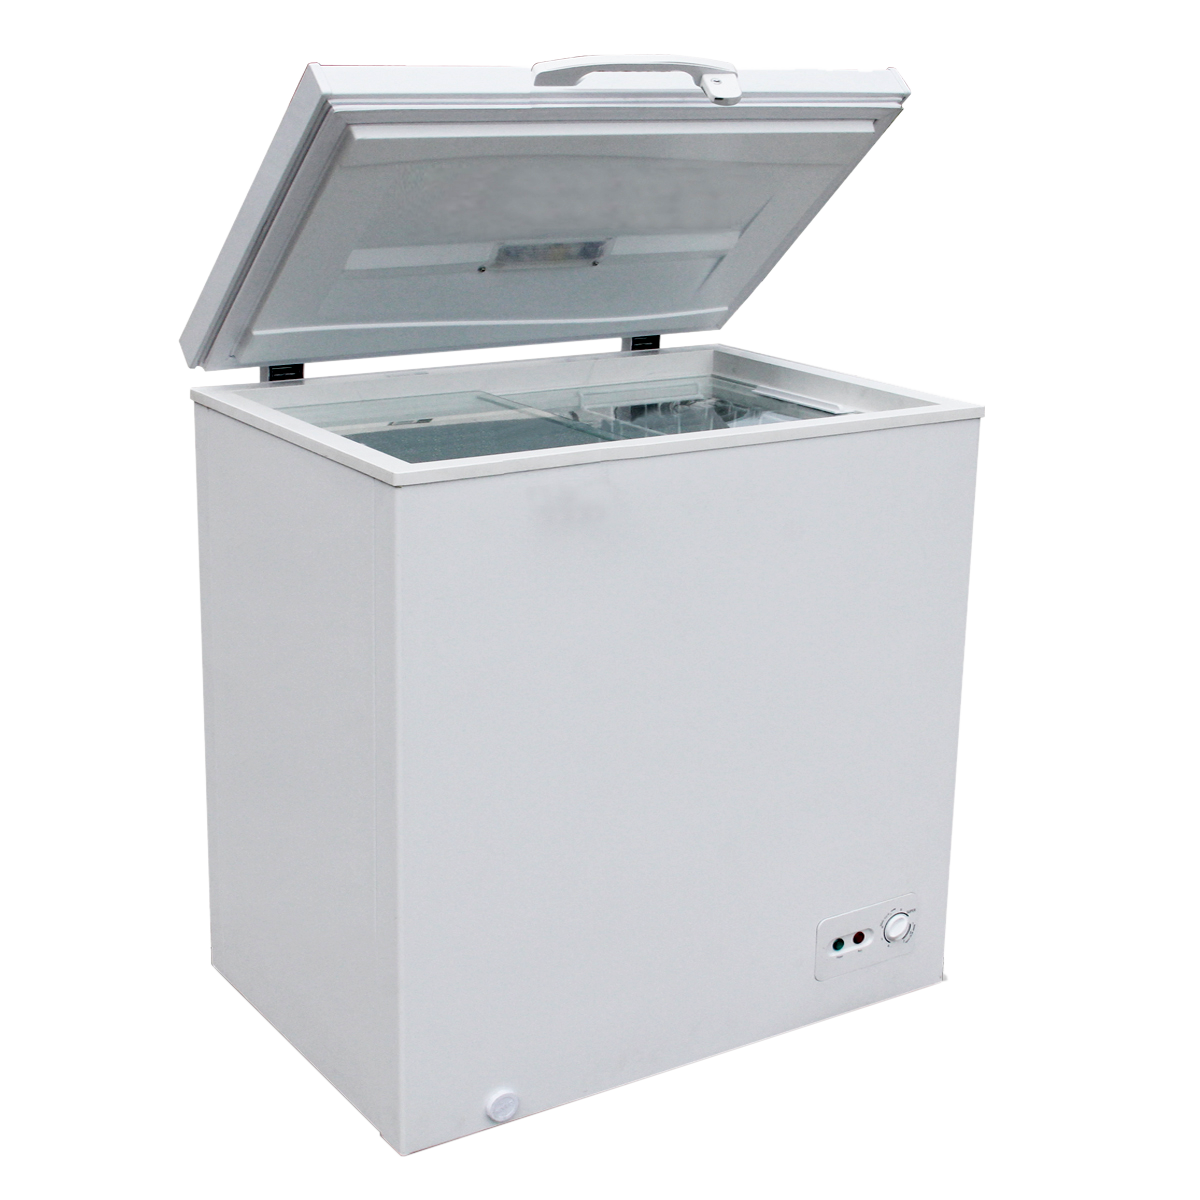
Repairing a freezer involves troubleshooting specific issues that may affect its cooling ability, functionality, or other components. Here's a general guide for common freezer problems:
-
Check Power Supply: Ensure the freezer is receiving power by checking the outlet and circuit breaker.
-
Temperature Issues: If the freezer is not cooling properly or is too cold, check the thermostat settings. Clean the condenser coils (usually located at the bottom or back of the freezer) to improve cooling efficiency.
-
Door Seal and Gasket: Similar to refrigerators, a damaged or worn door seal can cause cold air to escape, affecting the freezer's temperature. Inspect the gasket around the door for any gaps, tears, or damage. Replace if necessary.
-
Frost Buildup: Excessive frost buildup in a manual defrost freezer might indicate problems with the defrost system, such as a faulty defrost timer, heater, or thermostat. In a frost-free freezer, a lack of proper defrosting might also cause cooling issues.
-
Noises: Unusual noises like buzzing, rattling, or grinding might signal problems with the compressor, evaporator fan, or other mechanical components.
-
Interior Light and Controls: Malfunctioning lights or control panels might require replacement of bulbs or electronic components.
-
General Maintenance: Regularly clean the interior, remove ice buildup, and organize food items to ensure proper air circulation.
Always refer to the freezer's user manual for specific troubleshooting steps and safety precautions.
If you're uncertain about the issue or how to proceed, especially with electrical components or the sealed system (compressor, refrigerant), it's advisable to contact a qualified appliance repair technician.
Each freezer model and brand might have its unique set of problems and repair procedures, so specific information for your freezer model can be beneficial for accurate troubleshooting and repairs.
Repairing a dishwasher involves troubleshooting specific issues that might affect its cleaning ability, drainage, or other functionalities. Here's a general guide for common dishwasher problems:
-
Check Power Supply: Ensure the dishwasher is receiving power by checking the outlet and circuit breaker.
-
Water Supply and Drainage: If the dishwasher isn't filling with water or is not draining properly, check the water supply valve to ensure it's open and that the inlet hose isn't kinked. Inspect the drain hose and filter for clogs or blockages.
-
Detergent Dispenser Issues: If the dishwasher isn't dispensing detergent properly, the dispenser might be faulty, or there could be a blockage preventing the detergent from releasing during the wash cycle.
-
Spray Arm and Nozzles: Clogged spray arms or nozzles can hinder proper water distribution for cleaning. Remove any debris or buildup from the spray arms and nozzles.
-
Heating Element: If the dishes aren’t drying properly, the heating element might be malfunctioning. Test the element for continuity or visible damage.
-
Door Latch and Seal: A faulty door latch or seal can cause leaks. Ensure the door closes and seals properly to prevent water leakage during cycles.
-
Control Panel and Sensors: Malfunctioning control panels or sensors might cause the dishwasher to stop mid-cycle or display error codes. Check for error codes in the user manual and troubleshoot accordingly.
-
General Maintenance: Regularly clean the interior, filter, and door gasket to prevent buildup and ensure efficient operation.
Always refer to the dishwasher's user manual for specific troubleshooting steps and safety precautions.
If you're uncertain about the issue or how to proceed, especially with electrical components or intricate parts, it's advisable to contact a qualified appliance repair technician.
Each dishwasher model and brand might have its unique set of problems and repair procedures, so specific information for your dishwasher model can be beneficial for accurate troubleshooting and repairs.
Repairing a washing machine can involve various issues and solutions, depending on the problem you're experiencing. Here's a general guide to help diagnose and potentially repair common washer issues:
-
Check Power Supply: Ensure the washer is receiving power by checking the outlet and circuit breaker. Sometimes a tripped breaker or a faulty outlet might be the issue.
-
Inspect Water Supply: If the washer isn't filling or has issues with water levels, check the water supply valves. Ensure they're fully open and that the hoses aren't kinked or clogged.
-
Drainage Problems: If the machine isn't draining properly, inspect the drain hose for clogs or kinks. Also, check the drain filter (located near the bottom front or back of the machine) for debris.
-
Unbalanced Load: A washer may become unbalanced if the load inside is uneven. This can cause shaking or loud noises during the spin cycle. Redistribute the load evenly and try again.
-
Door/Lid Issues: If the washer door or lid isn't closing properly, the machine might not start. Ensure they're properly aligned and not obstructed.
-
Strange Noises: Loud noises could indicate a problem with the motor, belt, or bearings. It might require professional help to diagnose and repair.
-
Error Codes: Modern washers often display error codes. Refer to the user manual to identify what each code means and potential solutions.
-
Basic Maintenance: Regular cleaning and maintenance can prevent issues. Clean the detergent dispenser, drum, and door seals. Also, periodically check hoses and connections for leaks or damage.
-
Professional Help: If you're unsure or uncomfortable with diagnosing or repairing the washer yourself, it's best to call a qualified technician or the manufacturer's customer service for guidance.
Remember, safety is crucial when working with appliances. Always unplug the washer before attempting any repairs and, if unsure, seek professional help to avoid injury or further damage.
Additionally, specific models and brands might have unique issues or repair procedures, so consulting the user manual or the manufacturer's website for model-specific information can be helpful.
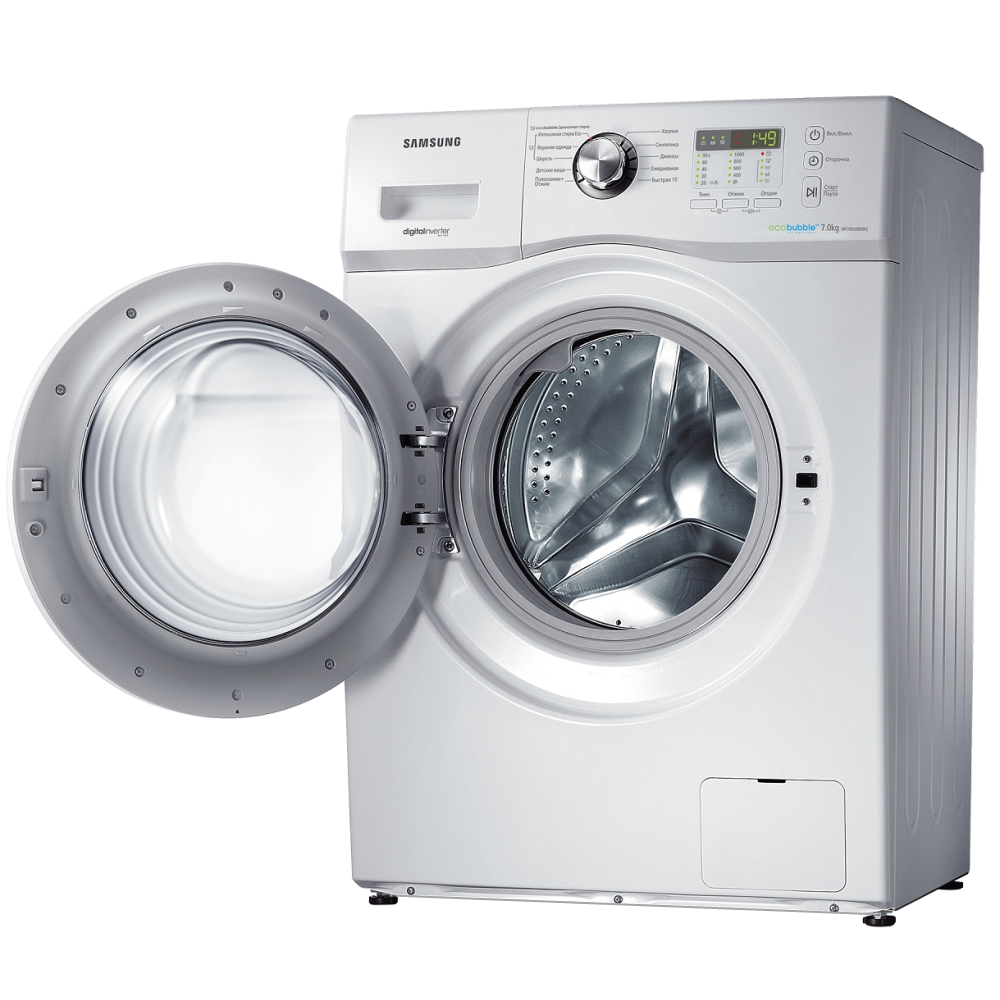
Repairing an oven involves troubleshooting specific issues that may affect its heating, temperature control, or other functionalities. Here's a general guide for common oven problems:
-
Check Power Supply: Ensure the oven is receiving power by checking the outlet and circuit breaker.
-
Temperature Issues: If the oven isn't heating properly or is heating too much, it might be a problem with the heating element, temperature sensor, or thermostat. Test the elements for continuity or visible damage.
-
Door Seal: A worn or damaged door seal can cause heat loss and affect the oven's ability to maintain temperature. Inspect the seal and replace it if necessary.
-
Igniter (for Gas Ovens): Gas ovens use an igniter to light the gas and create heat. A faulty igniter might prevent the oven from heating properly.
-
Control Panel and Display: Malfunctioning control panels, knobs, or digital displays might require replacement of electronic components.
-
Interior Light: If the interior light isn’t working, replace the bulb or check the wiring for any issues.
-
Cleaning and Maintenance: Regularly clean the oven interior, racks, and door to prevent buildup and ensure efficient operation.
Always refer to the oven's user manual for specific troubleshooting steps and safety precautions.
If you're uncertain about the issue or how to proceed, especially with electrical components or gas-related parts, it's advisable to contact a qualified appliance repair technician.
Each oven model and brand might have its unique set of problems and repair procedures, so specific information for your oven model can be beneficial for accurate troubleshooting and repairs.
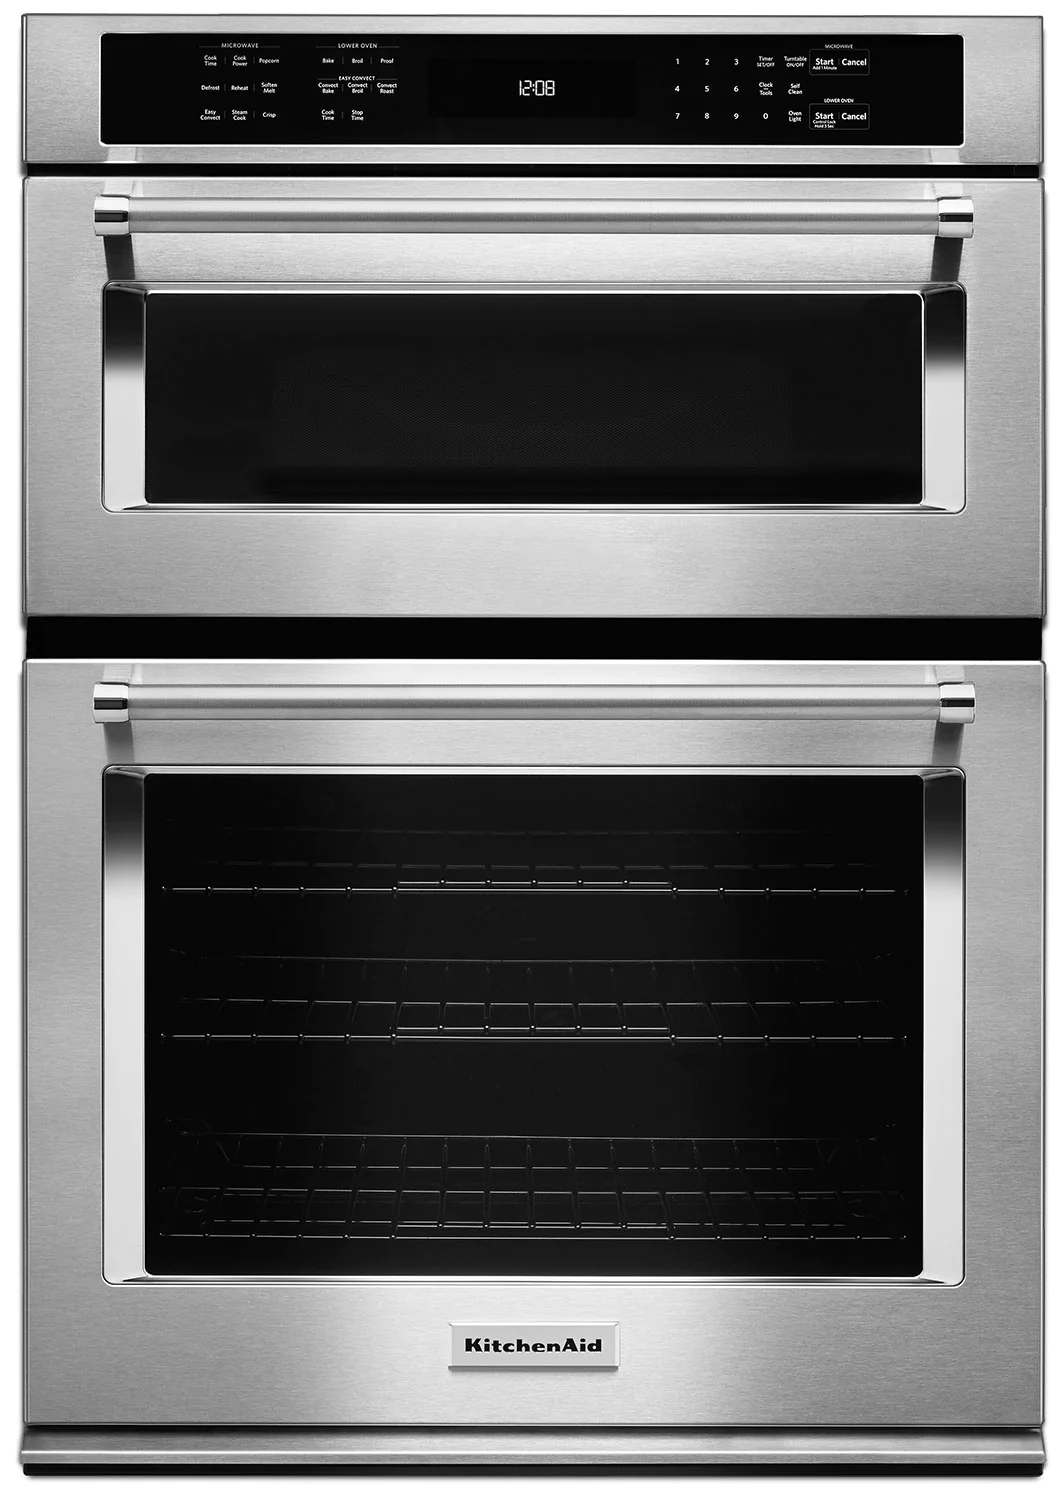
Repairing a stove involves troubleshooting specific issues that might affect its burners, oven, temperature control, or other functionalities. Here's a general guide for common stove problems:
-
Check Power Supply: Ensure the stove is receiving power by checking the outlet and circuit breaker.
-
Burner Issues: If one or more burners aren't heating properly or aren't working at all, it might be due to a faulty burner, surface element, or switch. Test the elements for continuity or visible damage.
-
Oven Temperature: If the oven isn't heating properly or cooking unevenly, it might indicate issues with the heating element, temperature sensor, or thermostat. Test the oven's temperature with an oven thermometer to verify accuracy.
-
Gas Stove Specific Issues: For gas stoves, problems might include burner ignition issues, gas supply problems, or blockages in the gas lines. Ensure the burner ports are clean and free from debris.
-
Control Panel and Display: Malfunctioning control panels, knobs, or electronic components might require replacement.
-
Door Seal: A worn or damaged door seal can cause heat loss and affect the oven's ability to maintain temperature. Inspect the seal and replace it if necessary.
-
Cleaning and Maintenance: Regularly clean the stove surface, burners, oven interior, and remove spills promptly to prevent buildup and ensure efficient operation.
Always refer to the stove's user manual for specific troubleshooting steps and safety precautions.
If you're uncertain about the issue or how to proceed, especially with gas-related parts or intricate components, it's advisable to contact a qualified appliance repair technician.
Each stove model and brand might have its unique set of problems and repair procedures, so specific information for your stove model can be beneficial for accurate troubleshooting and repairs.
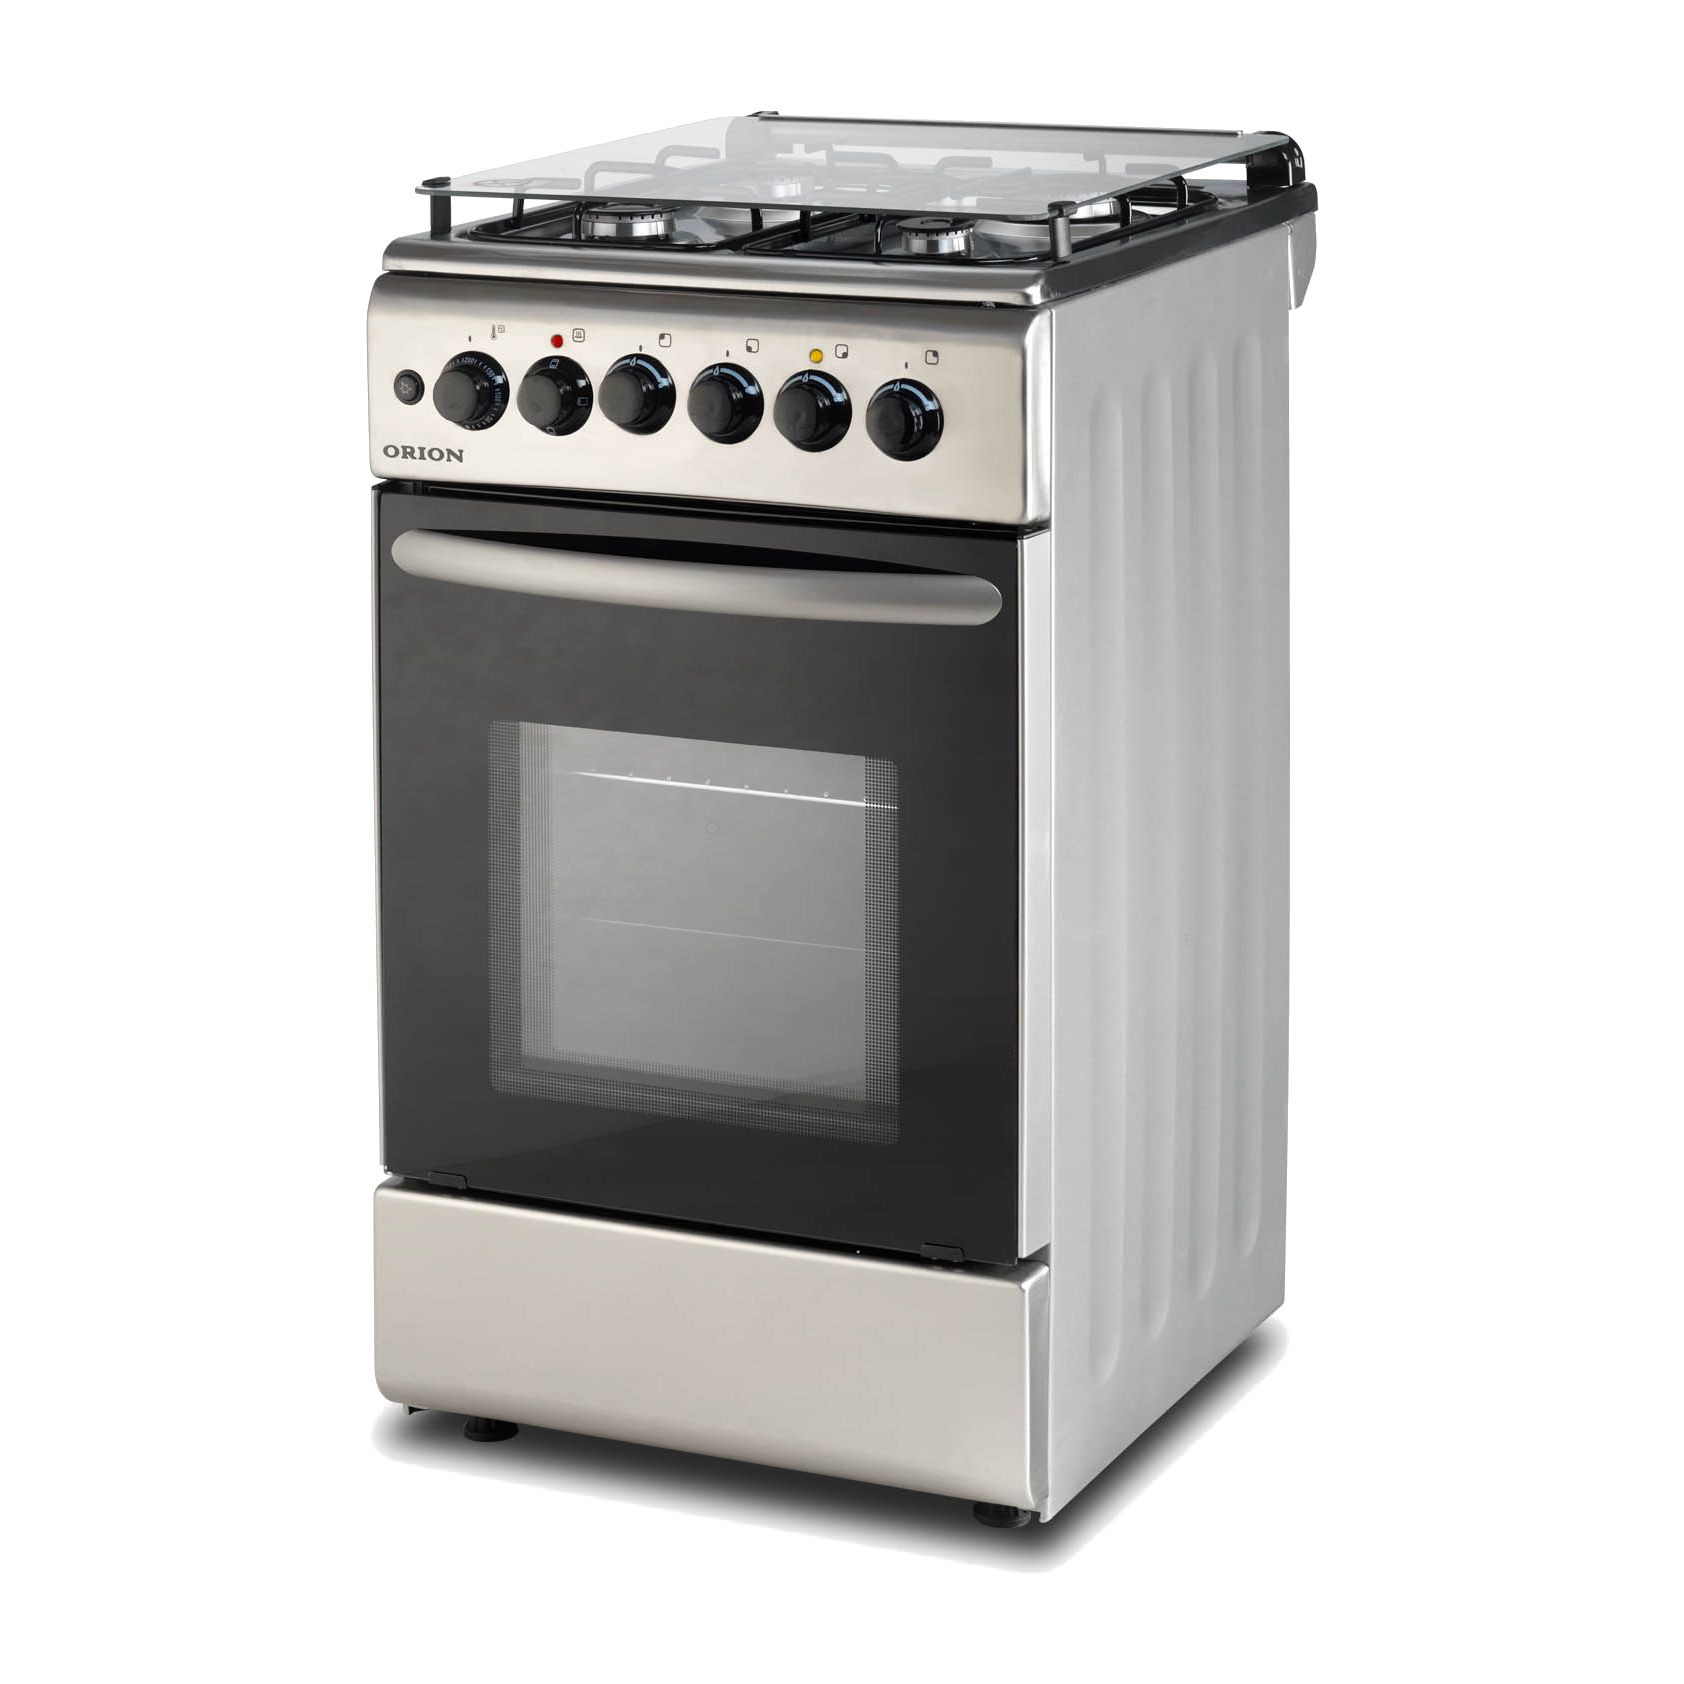
Repairing a cooktop involves troubleshooting specific issues that might affect its heating elements, temperature control, or other functionalities. Here's a general guide for common cooktop problems:
-
Check Power Supply: Ensure the cooktop is receiving power by checking the outlet and circuit breaker.
-
Burner or Heating Element Issues: If one or more burners are not heating properly or aren't working at all, it might be due to a faulty burner, surface element, or switch. Test the elements for continuity or visible damage.
-
Control Panel and Knobs: Malfunctioning control panels, knobs, or switches might require replacement of electronic components.
-
Indicator Lights: If the indicator lights or displays aren't working, it could indicate an issue with the power supply or the control board.
-
Surface Cleaning and Maintenance: Regularly clean the cooktop surface and remove spills promptly to prevent buildup and ensure efficient operation. Use appropriate cleaning products suitable for your cooktop's surface material.
-
Gas Cooktop Specific Issues: For gas cooktops, issues might include burner ignition problems, gas supply issues, or blockages in the gas lines. Ensure the burner ports are clean and free from debris.
-
Induction Cooktop Issues: Induction cooktops might have issues related to the power supply, control boards, or specific induction coil malfunctions.
Always refer to the cooktop's user manual for specific troubleshooting steps and safety precautions.
If you're uncertain about the issue or how to proceed, especially with electrical components or gas-related parts, it's advisable to contact a qualified appliance repair technician.
Each cooktop model and brand might have its unique set of problems and repair procedures, so specific information for your cooktop model can be beneficial for accurate troubleshooting and repairs.
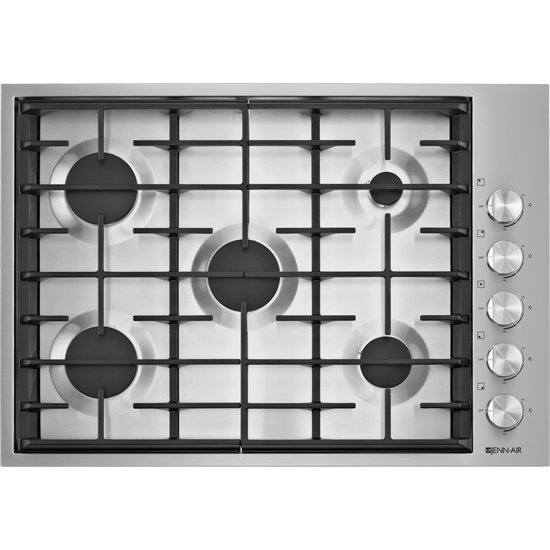
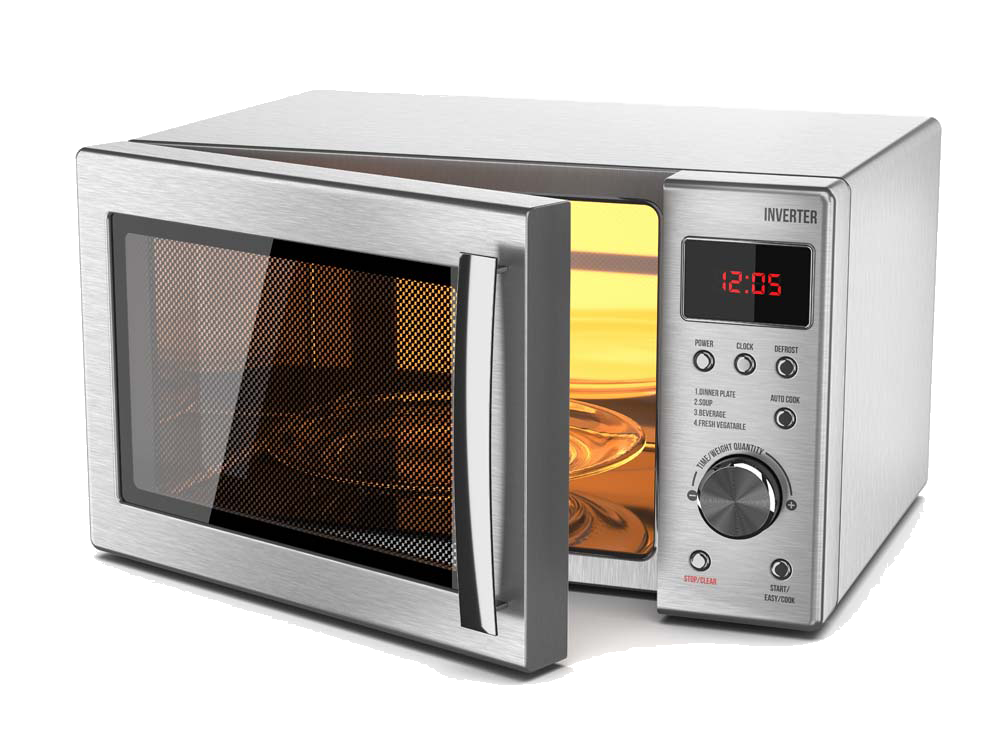
Repairing a microwave involves troubleshooting specific issues that may affect its heating, turntable, or other functionalities. Here's a general guide for common microwave problems:
-
Check Power Supply: Ensure the microwave is receiving power by checking the outlet and circuit breaker.
-
No Power or Display: If the microwave doesn't turn on or the display is not working, check the power supply, fuse, or circuit breaker. Test the outlet with another appliance to ensure it's functioning.
-
Heating Issues: If the microwave isn't heating food properly, it might be due to a faulty magnetron, diode, capacitor, or door switch. The magnetron generates microwave energy for heating, and other components help control and deliver this energy.
-
Turntable Problems: If the turntable isn't rotating, check for obstructions and ensure it's properly seated on the support. Additionally, inspect the turntable motor and roller guide for any issues.
-
Door Issues: A microwave door that doesn't close properly or has a faulty interlock switch might prevent the microwave from operating for safety reasons.
-
Control Panel and Buttons: Malfunctioning control panels, buttons, or touchpads might require replacement of electronic components.
-
Interior Light: If the interior light isn't working, replace the bulb or check the wiring for any issues.
-
Cleaning and Maintenance: Regularly clean the interior, turntable, and door seals to prevent buildup and ensure efficient operation.
Always refer to the microwave's user manual for specific troubleshooting steps and safety precautions.
Microwaves contain high-voltage components that can be dangerous to handle without proper knowledge and precautions. If you're unsure about the issue or how to proceed, it's advisable to contact a qualified appliance repair technician or the manufacturer's service center.
Each microwave model and brand might have its unique set of problems and repair procedures, so specific information for your microwave model can be beneficial for accurate troubleshooting and repairs.
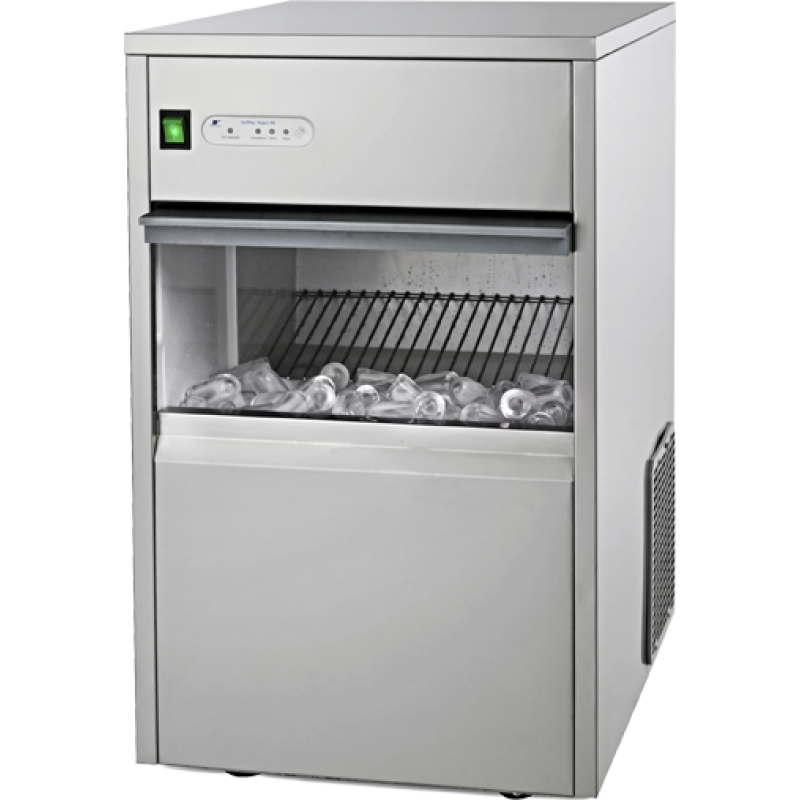
Repairing an ice machine involves troubleshooting specific issues that might affect its ice production, water supply, or other functionalities. Here's a general guide for common ice machine problems:
-
Check Power Supply: Ensure the ice machine is receiving power by checking the outlet and circuit breaker.
-
Water Supply: If the ice machine isn't producing ice, check the water supply. Ensure the water inlet valve is open, and the water line isn't blocked or frozen. Inspect the water filter for clogs or damage.
-
Temperature Issues: Improper temperature can affect ice production. Check the thermostat settings and ensure the machine is operating within the correct temperature range. Clean the condenser coils for efficient cooling.
-
Ice Thickness or Size: If the ice cubes are too small, too large, or irregularly shaped, it might indicate issues with the water supply, temperature, or the ice-making mechanism itself. Adjustments might be needed to the water flow or the ice-making settings.
-
Clogged or Dirty Components: Ice machines have various components that can get clogged or dirty over time, affecting performance. Clean the evaporator, ice bin, and other accessible parts regularly to prevent buildup.
-
Water Pump or Motor Issues: Malfunctioning pumps or motors can hinder water circulation or ice-making processes. Inspect these components for visible damage or irregular sounds.
-
Leakages: Check for leaks in the water lines, connections, or the ice bin. Tighten loose connections or replace damaged parts to fix leaks.
-
Control Panel and Sensors: Malfunctioning control panels, sensors, or electronic components might cause the ice machine to stop working or display error codes.
Always refer to the ice machine's user manual for specific troubleshooting steps and safety precautions.
If you're uncertain about the issue or how to proceed, especially with complex internal components or electrical parts, it's advisable to contact a qualified appliance repair technician.
Each ice machine model and brand might have its unique set of problems and repair procedures, so specific information for your ice machine model can be beneficial for accurate troubleshooting and repairs.
Repairing a refrigerator involves troubleshooting specific issues that might affect its cooling ability, functionality, or other components. Here's a general guide for common refrigerator problems:
-
Check Power Supply: Ensure the refrigerator is receiving power by checking the outlet and circuit breaker.
-
Temperature Issues: If the refrigerator is not cooling properly or is too cold, check the thermostat settings. Clean the condenser coils (usually located at the bottom or back of the fridge) to improve cooling efficiency.
-
Door Seal and Gasket: A damaged or worn door seal can cause cold air to escape, affecting the refrigerator's temperature. Inspect the gasket around the door for any gaps, tears, or damage. Replace if necessary.
-
Defrost System Problems: Ice buildup in the freezer can indicate issues with the defrost system, such as a faulty defrost timer, heater, or thermostat. This can affect the fridge's cooling ability.
-
Water Leaks: Check for leaks inside the refrigerator or underneath it. This might indicate problems with the water supply line, a clogged defrost drain, or a cracked water filter housing.
-
Condensation or Frost: Excessive condensation or frost inside the fridge might indicate issues with the door seal, gasket, or humidity control.
-
Noises: Unusual noises like buzzing, rattling, or grinding might signal problems with the compressor, evaporator fan, or other mechanical components.
-
Ice Maker and Dispenser: If the ice maker or dispenser isn't working, check for frozen water lines, a faulty water inlet valve, or issues with the ice maker module.
-
Interior Light and Controls: Malfunctioning lights or control panels might require replacement of bulbs or electronic components.
-
General Maintenance: Regularly clean the interior, remove expired food items, and check the door alignment to ensure a proper seal.
Always refer to the refrigerator's user manual for specific troubleshooting steps and safety precautions.
If you're unsure about the issue or how to proceed, especially with electrical components or the sealed system (compressor, refrigerant), it's advisable to contact a qualified appliance repair technician.
Each refrigerator model and brand might have its unique set of problems and repair procedures, so specific information for your refrigerator model can be beneficial for accurate troubleshooting and repairs.
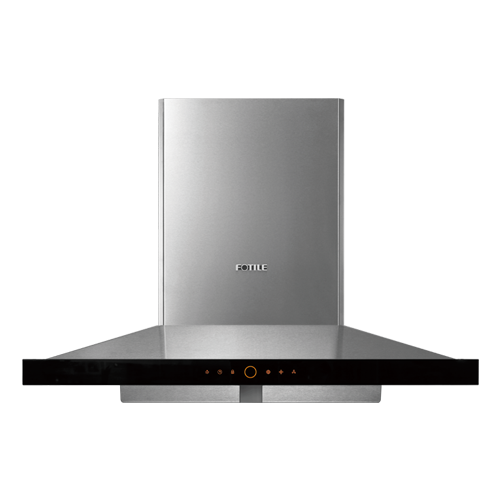
Repairing a vent hood involves troubleshooting specific issues that might affect its ventilation, fan operation, lighting, or other functionalities. Here's a general guide for common vent hood problems:
-
Check Power Supply: Ensure the vent hood is receiving power by checking the outlet and circuit breaker.
-
Fan Operation: If the fan isn't working or is making unusual noises, it might indicate issues with the motor, fan blades, or wiring. Inspect and clean the fan blades for any debris that might be obstructing their movement.
-
Ventilation and Airflow: Check for proper ventilation and airflow. Make sure the vent hood's ductwork isn't blocked or clogged with grease, dust, or other debris.
-
Lighting Issues: If the lights aren't working, replace the bulbs or check the wiring connections for any issues.
-
Grease Filter Maintenance: Clean or replace the grease filters regularly to maintain efficient ventilation and prevent grease buildup.
-
Control Panel and Switches: Malfunctioning control panels, buttons, or switches might require replacement of electronic components.
-
Cleaning and Maintenance: Regularly clean the exterior and interior surfaces of the vent hood, as well as the grease filters, to ensure proper functionality and prevent buildup.
Always refer to the vent hood's user manual for specific troubleshooting steps and safety precautions.
If you're uncertain about the issue or how to proceed, especially when dealing with electrical components or the vent hood's internal parts, it's advisable to contact a qualified appliance repair technician.
Each vent hood model and brand might have its unique set of problems and repair procedures, so specific information for your vent hood model can be beneficial for accurate troubleshooting and repairs.
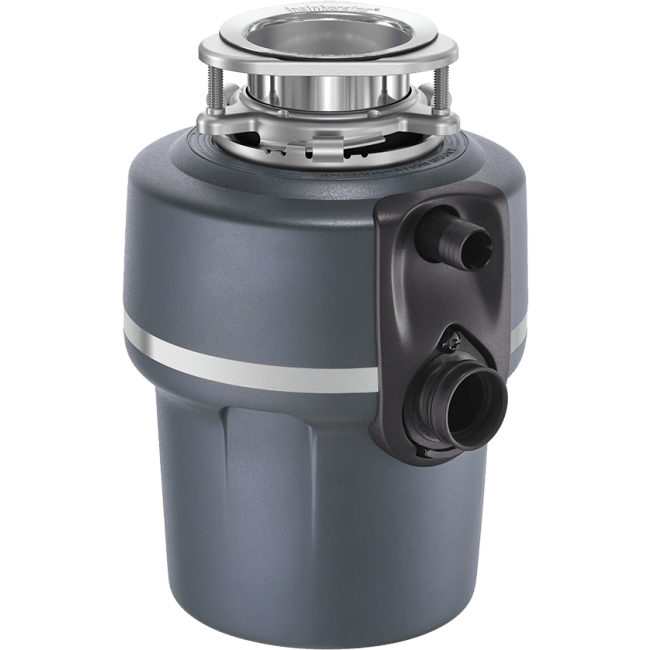
Repairing a garbage disposal involves troubleshooting specific issues that might affect its grinding ability, drainage, or motor functionality. Here's a general guide for common garbage disposal problems:
-
Safety Precautions: Before attempting any repair, always ensure the garbage disposal is turned off and unplugged or the power supply is switched off at the circuit breaker to prevent accidents.
-
Check Power Supply: Ensure the garbage disposal is receiving power by checking the outlet and circuit breaker.
-
Jamming or Clogging: If the disposal is not grinding or is making a humming sound, it might be jammed or clogged. Never put your hand or foreign objects into the disposal. Instead, use a disposal wrench or a hex key (usually provided with the disposal) to manually rotate the impellers to free the obstruction.
-
Reset the Disposal: Sometimes a thermal overload switch can trip due to overuse or blockages. Locate the reset button on the bottom or side of the disposal and press it to reset the unit.
-
Leaking: Check for leaks at the connections or in the disposal unit itself. Tighten loose connections or replace damaged parts like the flange, gaskets, or pipes if necessary.
-
Foul Odors: Run ice cubes and citrus peels through the disposal to help clean and deodorize it. You can also use baking soda and vinegar or specially formulated disposal cleaners to eliminate odors.
-
Dull Blades: If the disposal blades are dull, you might need to replace them. Avoid putting hard or fibrous materials like bones, shells, or large food scraps into the disposal to prevent damage to the blades.
-
Motor Issues: If the disposal motor is not running despite having power, it might be faulty. In such cases, it might require professional repair or replacement.
Always refer to the garbage disposal's user manual for specific troubleshooting steps and safety precautions.
If you're uncertain about the issue or how to proceed, especially when dealing with the internal components or the motor, it's advisable to contact a qualified plumber or appliance repair technician.
Each garbage disposal model and brand might have its unique set of problems and repair procedures, so specific information for your garbage disposal model can be beneficial for accurate troubleshooting and repairs.
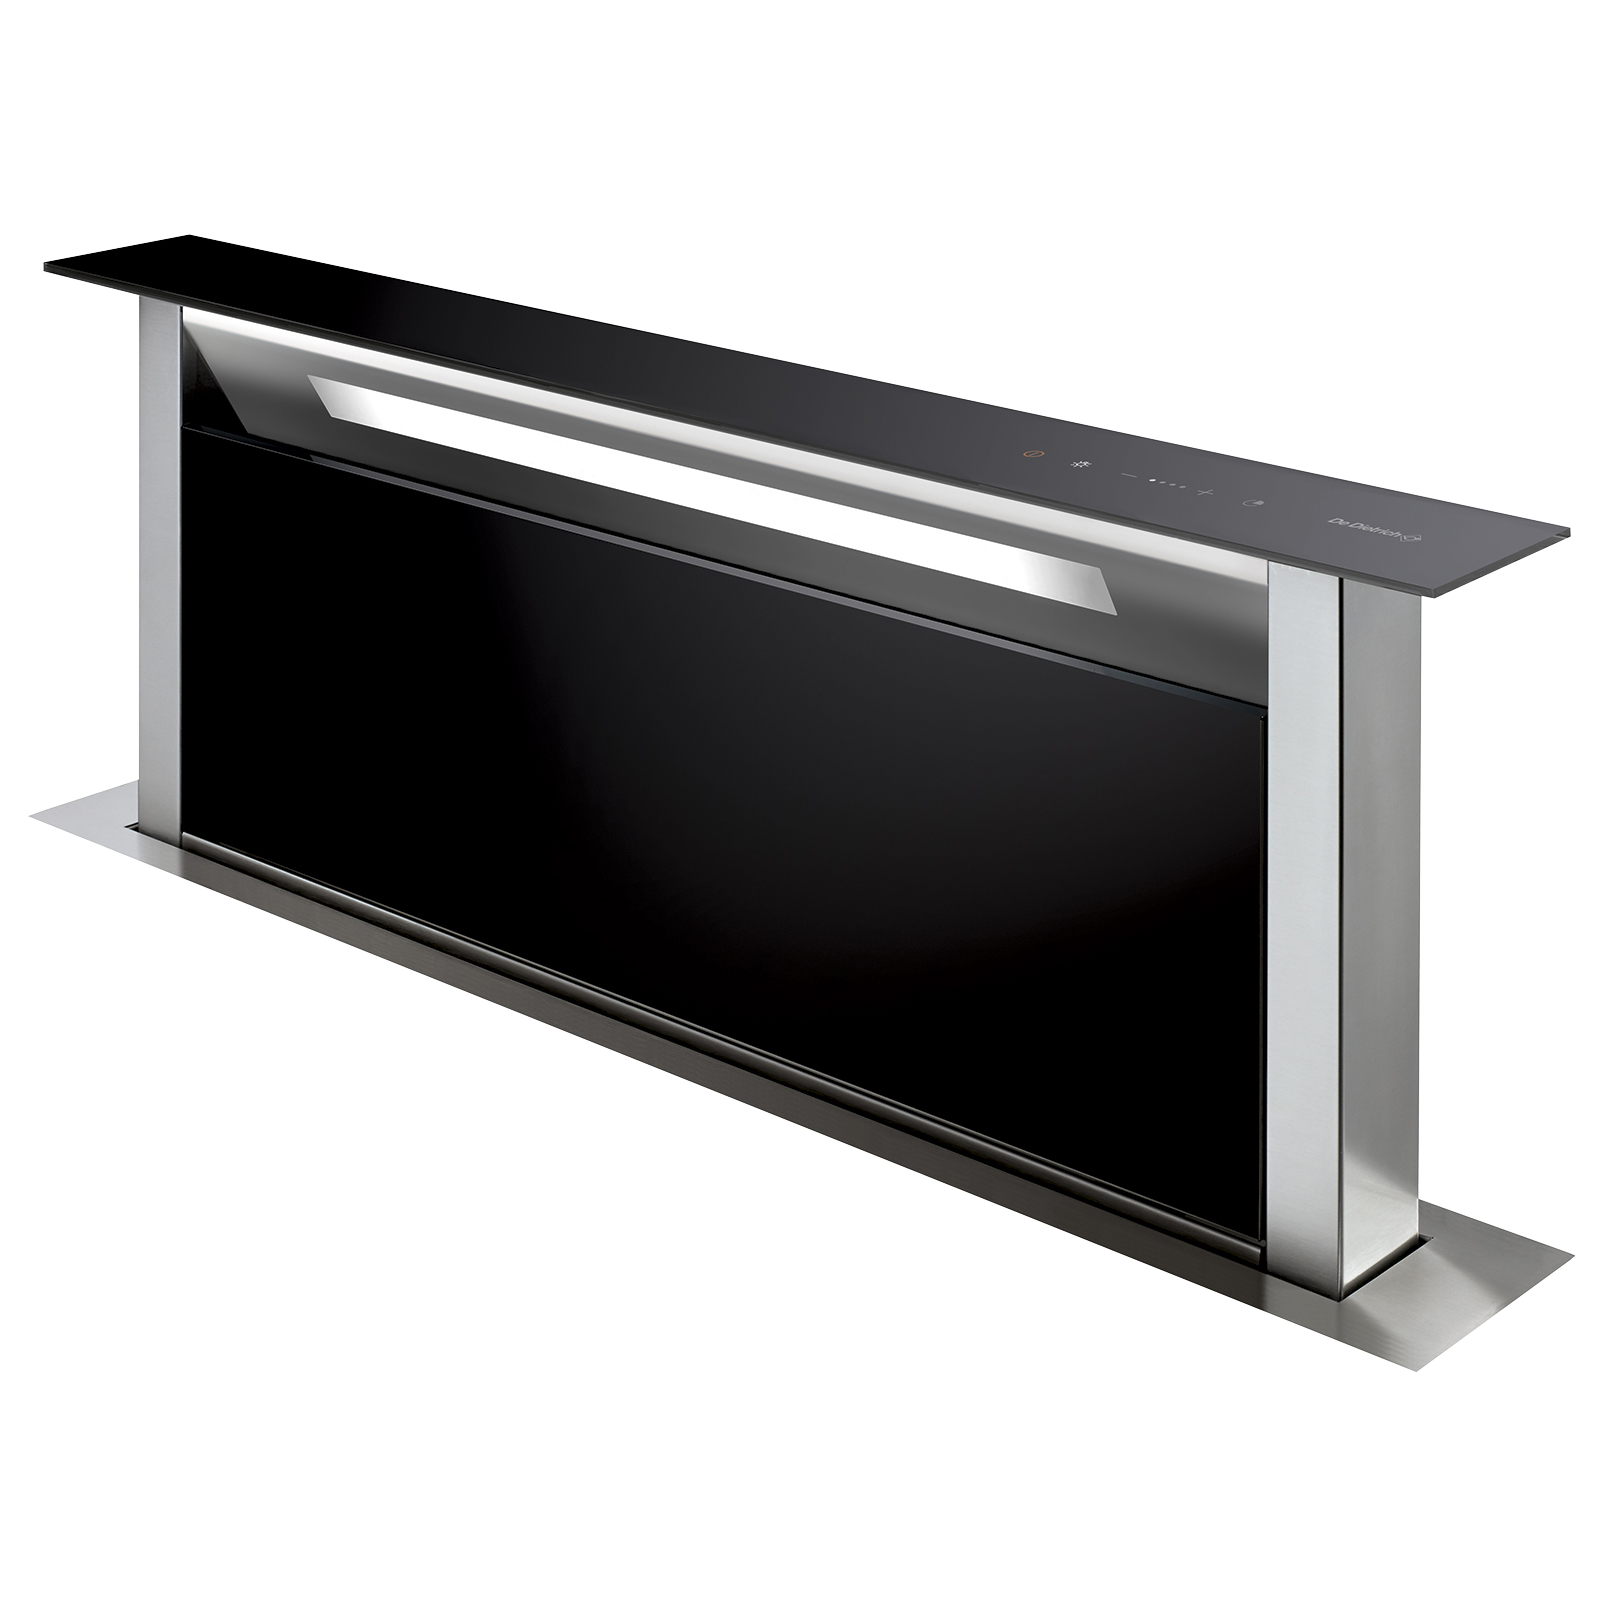
Repairing a downdraft hood involves troubleshooting specific issues that might affect its ventilation, fan operation, or other functionalities. Here's a general guide for common downdraft hood problems:
-
Check Power Supply: Ensure the downdraft hood is receiving power by checking the outlet and circuit breaker.
-
Fan Operation: If the fan isn't working or is making unusual noises, it might indicate issues with the motor, fan blades, or wiring. Inspect and clean the fan blades for any debris that might be obstructing their movement.
-
Ventilation and Airflow: Check for proper ventilation and airflow. Ensure the downdraft hood's ductwork isn't blocked or clogged with grease, dust, or other debris.
-
Control Panel and Switches: Malfunctioning control panels, buttons, or switches might require replacement of electronic components.
-
Cleaning and Maintenance: Regularly clean the exterior and interior surfaces of the downdraft hood, as well as any grease filters or mesh screens, to ensure proper functionality and prevent buildup.
-
Raise and Lower Mechanism: Some downdraft hoods have a mechanism to raise and lower when not in use. If this mechanism is malfunctioning, it might require adjustment or repair.
Always refer to the downdraft hood's user manual for specific troubleshooting steps and safety precautions.
If you're uncertain about the issue or how to proceed, especially when dealing with electrical components or the downdraft hood's internal parts, it's advisable to contact a qualified appliance repair technician.
Each downdraft hood model and brand might have its unique set of problems and repair procedures, so specific information for your downdraft hood model can be beneficial for accurate troubleshooting and repairs.
 +1 (713) 730-9933
